Building a Highway Overpass
Building a Highway Overpass
Virtual CRASH allows users to easily create 3D environments within which vehicles can travel. Occasionally it’s necessary to build overpasses for simulations and animations. In this post, we’ll review how to create a simple overpass using an extrusion object. Our animation using this scene can be seen below.
Here we see our Google Earth aerial image of our scene.
First, we capture a clean section of roadway to cover up the overpass. This helps prevent awkward visuals (this is discussed further in this KB post).
Next, we create a rectangle approximately the size of our overpass. We then use the extrusion tool to create our roadway object.
Going to Google Street View, we can extract some texture maps for our environment. Here we’ll extract the profile of the overpass and the tiles underneath.
We also created a texture map of the top of the overpass using our Google Earth aerial. We can now drag and drop these images onto our extrusion (see this KB post for more on using extrusions with images).
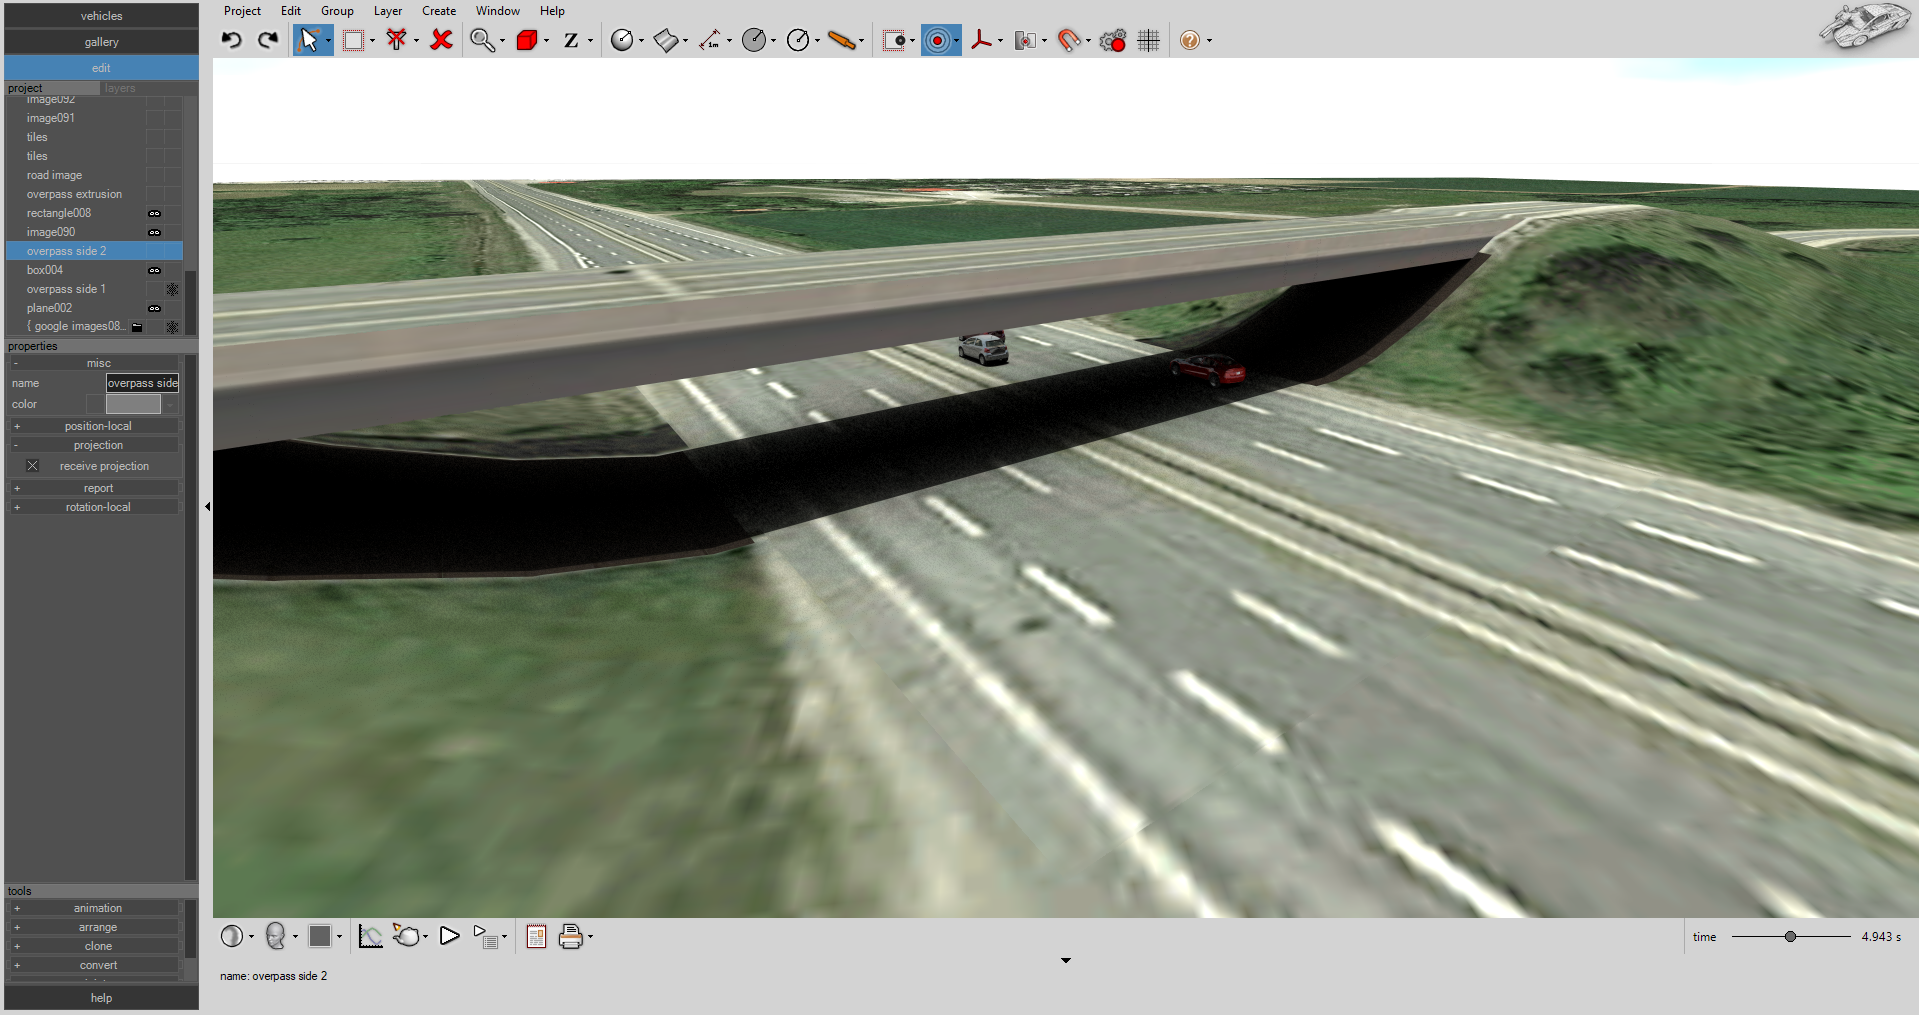
Next, we’ll use plane objects to create the right and left side of the overpass. Using the vertices, we can shape and mold the sides to overlap with the extrusion (see this Blog post to learn more about modifying vertices). Using “receive projection” the plane objects will be colorized by the Google Earth image.
Now we can place rectangle shapes beneath the overpass. We'll use our tile texture map to colorize this area.
Now our environment is finished and ready to use for our animation.
Note in this example, the overpass is created in order to make a more immersive animation environment, but no vehicles drive over it. If we needed vehicles to drive on the overpass, we would use a slightly different strategy by using a single plane object overpass road surface (see this Blog post for example). The plane would then be superimposed with our extrusion.